Saturday, 4 June 2016

Quiet Book Page: Peek-a-Boo Panda

Now that Baby V's "At the Zoo" quiet book is complete, I'll be spending time on the steps for you to make your own. This time around I don't have photos for every single step of the page making but I can assure you that everything you need to know about the process will be explained in detail. And of course, free printable templates will be available for download soon. So here goes, let's start with the peek-a-boo panda page!

Materials & Tools:

Felt - Black, white, pink, lime green
Thread - Black
Needle
A pair of googly eyes
A pair of snap fasteners
Hot glue gun

Method:

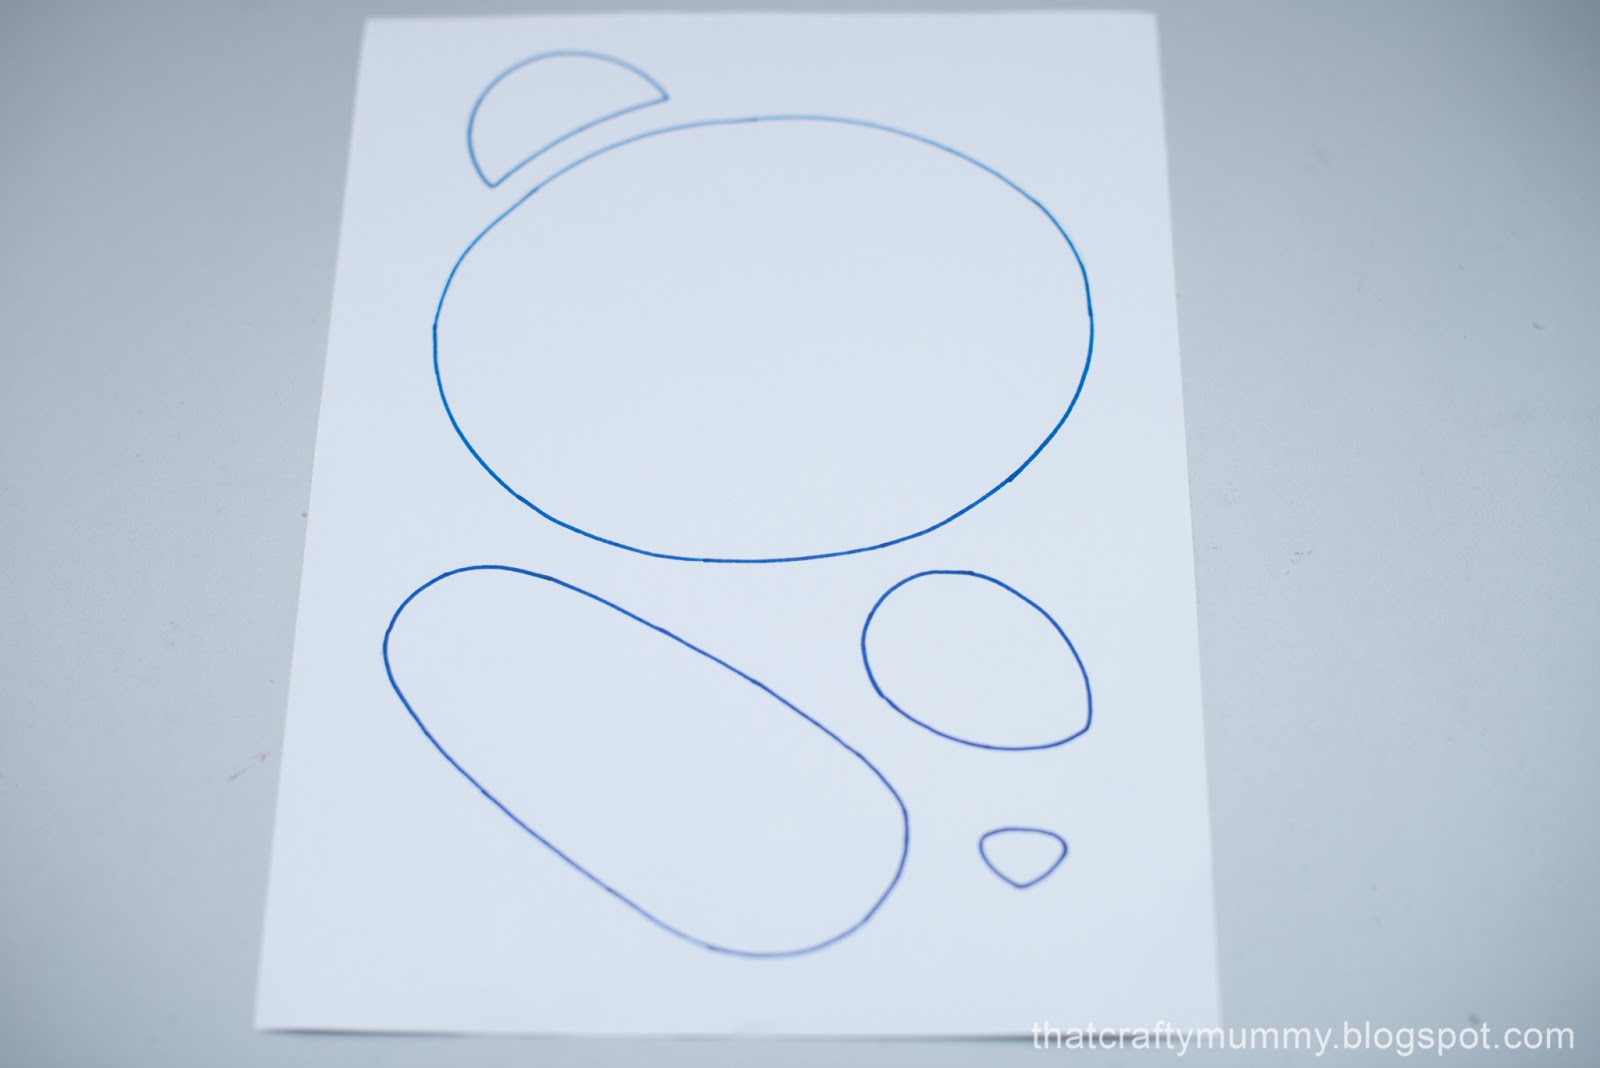
1. Cut felt pieces based on the template.


2. Arrange all parts accordingly as in where you want the ears, eyes, nose, and blush to be before you start glueing it permanently with hot glue. This step is important because you'll get all sorts different panda faces with different arrangements. Haha. You also want to ensure that the eyes are in the right place so that the arms are long enough to reach and cover them.

3. Glue all parts excluding the arm. Thread a needle and tie several knots at the end. Use two strands of threads instead of a single strand so that the outline of the mouth is more prominent. Sew the mouth (i.e. something shaped like the letter "w") below the nose using the back-stitching method. Sew one side of the snap fastener on the panda body.


4. Sew another side of the snap fastener on the arm of the panda. Repeat for two arms. You'll end up with arms that exposes messy stitches from sewing the snap fasteners. Layer another arm cut-out on top so that the stitches are hidden. You can either glue the pieces together or blanket stitch around the pieces. I prefer the later because it gives more durability, especially with destructive tiny humans. :P


5. Fasten the arm to the body and there you go, a shy panda with movable arms! 


Friday, 3 June 2016

"At the Zoo" Quiet Book: Video

Ta-daah! My "At the Zoo" quiet book for my tiny human! Stay tuned for the upcoming tutorials and printable templates! Enjoy!


Saturday, 28 May 2016

Red Amaranth (Bayam) Soup

This is another super nutritious and super quick soup to make! Rich in vitamin A, vitamin C, iron, magnesium and calcium, this leafy vegetable is definitely something that you don't want your little one to miss!

Ingredients:

Red amaranth, leaves removed from stalks and washed
Dried anchovies, cleaned and washed
A few cloves of garlic

Method:

Heat oil and fry garlic and anchovies until fragrant. Add amaranth leaves and stir fry until it wilts a little. Add boiling water. Boil for another 5 minutes over medium fire. Add salt to taste. The ruby red colour amaranth soup is now ready to serve!


Yep, that's exactly how easy the recipe is. The only thing you need to take note of is that the leaves tend to accumulate more soil than most other veggies and hence, needs a few more runs of thorough rinsing. :D


Thursday, 26 May 2016

Apple Muffins

New to baking? Muffins are probably the easiest thing to bake! No mixer needed and no need to wash a ton of equipments. And, what's best? The chances of failing is close to zero! Well, at least it is when compared to more complicated projects, like making a sponge cake, or a bread loaf. In general, the key to well-rising muffin is not to over-mix the batter. So here goes, a simple apple muffin recipe to kick-start your baking journey!

Dry Ingredients:

200g self-rising flour
50g sugar
A dash of cinnamon powder

Wet Ingredients:

2 small red apples, peeled, coarsely grated
100g butter, melt over low fire and let cool
1 egg
100ml milk

Method:

Preheat oven to 200oC. Line muffin tin with muffin liners. Mix dry ingredients together. In a separate bowl, mix wet ingredients together. Pour the wet ingredients mixture into the dry ingredients mixture. Gently mix it until just combined, say, within 10 seconds? The batter should be thick and "spoonable". Over-mixing will create tough and flat muffins. Fill muffin liners until 2/3 full. Bake at 200oC for 20-25 minutes or until a toothpick inserted in the middle of the muffin comes out clean. Easy-peasy!


This recipe yields 12 muffins. Green apples are usually used in apple muffins. However, I used red ones because they are sweeter and perhaps more appealing to tiny humans. Most importantly, sweeter apples also means reduction of added sugar to the muffins. So yeah, its really up to you whether to use red or green ones!

Happy baking!


Monday, 23 May 2016

Luffa (Petola) Egg Drop Soup

Many pork or chicken based Chinese soups usually take long hours to cook, or at least 45 minutes cooking time to get tender meats. Now what do you do when you only have 15 minutes to cook a soup to go with your little one's rice? Try this quick and easy luffa egg drop recipe! 

Ah... Before I start with the ingredients, I want to make a silly confession: I've always thought that petola is an English word until I googled about it when writing this post! So yeah, if you don't already know this, be reminded that petola is actually a Malay word and this gourd-like thingy is called luffa in English! Haha.

Ingredients:

3 clove garlic, sliced
3 slice ginger
1 luffa, peeled and cut into chunks
1/4 carrot, cut into thin strips
4-5 tablespoon minced meat (pork/ chicken)
1 egg, whisked 

Method:

Heat some oil and stir fry garlic and ginger until fragrant. Add minced meat. Add luffa and carrot. Stir fry for a minute or two until luffa pieces wilted a little. Add boiling water. Boil for 5 minutes and stir egg into the boiling soup. Season with salt and pepper if desired. Ta-daah, a wholesome quick soup with both meat and veggies in it is ready to serve!


Baby V is a huge fan of luffa! She was on a food-strike, or rather rice-strike AGAIN on this particular  day when I cook this soup. So what did her desperate mummy do? Let her self feed the veggies while trying to spoon feed her the soup! And guess what, she ate about one third of a medium-sized luffa! It's really a relief to see her eat something, ANYTHING, especially after days of only eating 2-3 tablespoon food every meal time.


Saturday, 21 May 2016

Creamy Mushroom Pasta

Is your little one a fan of pasta? How about a change from the usual tomato based pasta sauce? Try this easy creamy mushroom pasta sauce recipe! This recipe yields enough sauce for one large plate of pasta for an adult.

Ingredient:

2 tablespoon butter
5 clove garlic, minced
1 teaspoon flour
300ml fresh milk (might need some extra to adjust sauce thickness)
1 tablespoon cream cheese
5-6 fresh mushrooms (portobello, shiitake, or button mushroom), washed and sliced
Some mixed herb
Pasta, cooked until al dente

Method:

Melt butter over medium fire and sauté garlic until fragrant. Add mushroom and fry until a little browned. Add milk. Stir flour into the mixture to thicken the sauce. Add cream cheese and stir until all of it melts into the sauce. If the sauce appears to be too thick, add some more milk and adjust consistency to your liking. Season with salt and pepper if desired. Bring sauce to a boil and pour it over cooked pasta. Garnish with a dash of mix herb on top. Serve warm.


Looks yummy? I used spirals so that my tiny human will be able to self feed easily. If your little one is at the same "I-don't want-you-to-feed-me" phase, try different pasta shapes like fusilli, penne, macaroni, and shells that tiny fingers can hold easily! In fact, your little one will probably be fascinated with pasta shapes that they have not seen before. Hehe.


Wednesday, 18 May 2016

Cheesy Pumpkin Soup

Is your little one bored with rice? Or bored with noodles? No problem at all! Try serving bread with this nutrient dense, yummy soup as dipping! It might just be your little one's next favourite soup!

Ingredients:

Half of a small pumpkin, cut into small chunks
2 tablespoon butter
2 tablespoon cream cheese
5 clove garlic, minced
3-5 tablespoon minced chicken
Water 

Method:

Melt butter over medium fire. Add garlic and saute until fragrant. Add minced meat and pumpkin. Stir fry for a few minutes and add just enough water to cover the pumpkin. Do not add too much water since pumpkin releases water as it cooks. Cook for 15 minutes or until the pumpkin softens. Mash pumpkin with a fork against the bottom/ side of the pot so that the soup becomes thick. Add cream cheese and stir until all of it melts into the soup. Garnish with a small dollop of cream cheese on top. Serve warm. Yums!