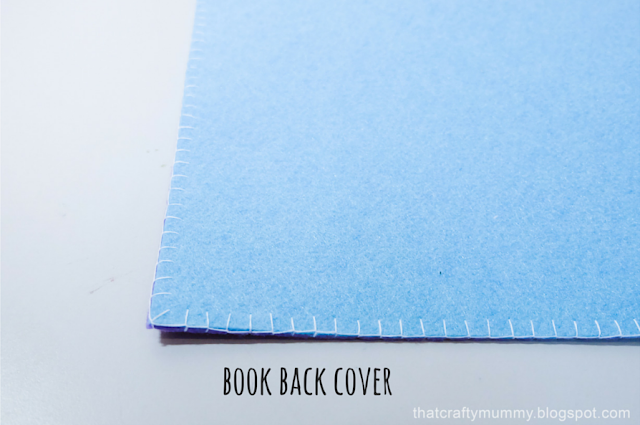
There are plenty of ways to finish off the pages: (1) attach bias tape, (2) use a serger or a zig zag stitch, if your sewing machine allows, or, (3) hand sew it with blanket stitch. I use the third method after a not so pleasant experience of trying to attach bias tape on the edges of thick pages using my not so heavy-duty sewing machine some time ago. The stitches would sometimes come out uneven or threads would clump together in a mess. Worst still, I need plenty of time and patience to remove the stitches, and sew it again all over. >.<
And of course, I don't have a serger nor a machine that allows me to do a zig-zag stitch. So until I get a proper machine, I'd rather stick to the good ol' method of hand sewing with a blanket stitch. The bright side of this method? It gives a nice "hand-made" look to the final book! :P
So here's what you do when all the book pages and book cover are ready:
1. Arrange pages to your preference. Blanket stitch pages back-to-back, i.e. sew page page 2 on the back of page 1, page 4 on the back of page 3, and so on.
2. I use a 2-in-1 eyelet plier like this to punch holes on all of the pages and attach eyelets. Here's what to do: punch holes, trim around the holes if necessary (the edges of the cut does not always come out clean due to the thickness of the page), push eyelet through the hole on the right side (i.e. the front of the page), align the plier and place washer on the wrong side (i.e. the back of the page), and lastly, squeeze the pliers together. The size of my quiet book is 25cm x 25cm so I punched 3 holes on each page to hold the book together better. The distance between holes is personal preference but mine is as shown in the picture below.
3. Last but not least, join all pages together with clip rings. Ta-daah! The book is now all done! :D
If you still can't get the hold of applying eyelets, fret not, I have a video coming up on how to apply it! Trust me, it's a nice tool to use for almost any craft and sewing project! Do stay tuned for a video of my completed book too! :D


