
Now that all eight pages of the book are ready, it's time to finally make the book cover! The steps are pretty straightforward this time, so here goes!
1. Use a piece of white colour felt as the base of the cover. Cut a wavy piece of blue colour felt as the sea. Cut some sea grass out of a green colour felt.


2. Print the book title in your preferred font. Cut the template, lightly trace the outline of inverse of the alphabets onto a piece of felt, and start cutting out the alphabets. Why the inverse? So that there are no traces of ball pen lines on the right side of the alphabets. :D Some pretty useful tips about alphabet cutting here: thicker fonts are easier to work with and the easiest way of cutting holes for letters like "a", "b", "e" and so on, is to use a hole punch.

3. Draw and cut template for the seahorse. Stick two pieces together using a glue gun. Sew decorative lines on the tummy of the seahorse using back-stitching. Add googly eyes to the seahorse.


4. Glue the blue wavy felt onto the white felt and start assembling the cover. Arrange all items according to your liking and make necessary adjustments before you start glueing everything permanently.

5. Get another piece of felt to act as the inside of the cover. Using blanket stitch, attach both the outside and the inside of the cover together. Ta-daah, it's now all done!


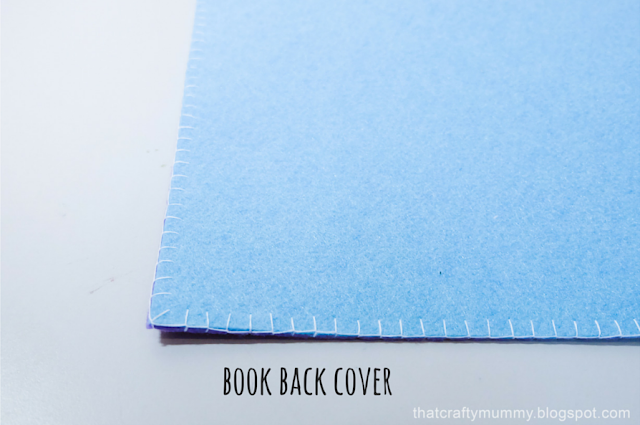
6. Similarly, sew two piece of felt together using blanket stitch as the back of the book cover.

The quiet book is almost complete now! Do look out for my next post on page finishing and book compilation. :D

3. Draw and cut template for the seahorse. Stick two pieces together using a glue gun. Sew decorative lines on the tummy of the seahorse using back-stitching. Add googly eyes to the seahorse.


4. Glue the blue wavy felt onto the white felt and start assembling the cover. Arrange all items according to your liking and make necessary adjustments before you start glueing everything permanently.

5. Get another piece of felt to act as the inside of the cover. Using blanket stitch, attach both the outside and the inside of the cover together. Ta-daah, it's now all done!


6. Similarly, sew two piece of felt together using blanket stitch as the back of the book cover.


The quiet book is almost complete now! Do look out for my next post on page finishing and book compilation. :D
No comments:
Post a Comment